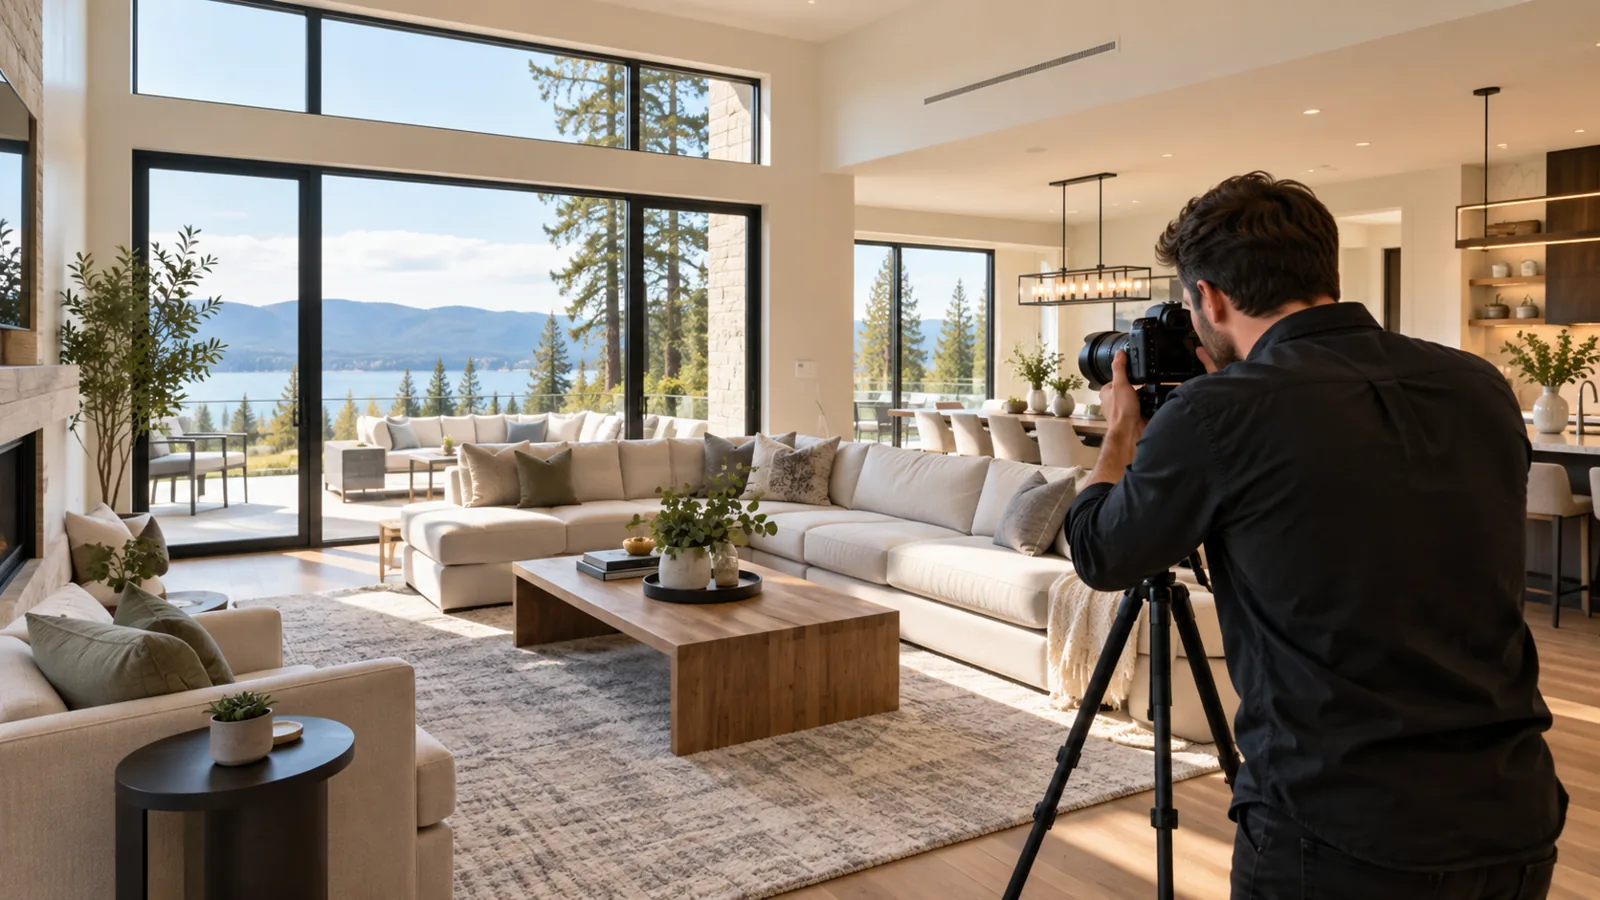
Knowing how to take real estate photos is essential if you want property listings to look clear, consistent and professional. Start with a room preparation checklist, then consider camera height for interior photography and the available natural light. These interior photography tips help you show the space clearly without exaggerating its size.
Good real estate photography is not only about using an expensive camera. Preparation, lighting, composition, lens choice and real estate photo editing all have a major impact on the final result.
This guide explains how to photograph a property step by step and create images that are suitable for professional listings.
1. Follow a Room Preparation Checklist Before Taking Photos
The photography process starts before you pick up the camera.
Remove anything that makes the space feel cluttered or distracting:
bins;
cables;
cleaning products;
personal items;
excess furniture;
clothes and shoes;
objects on kitchen worktops.
Straighten cushions, make the beds and open curtains or blinds.
A clean and organised room is easier to understand visually and usually requires less editing afterwards.
The objective is not to make the property look artificial. It is to make the layout and space easier to read.
2. Walk Through the Property First
Before shooting, take a few minutes to inspect the entire property.
Identify:
the brightest rooms;
the best views;
difficult lighting situations;
key selling points;
architectural features;
rooms that require a wider angle.
This helps you plan the shoot and reduces the risk of forgetting an important space.
3. Use Natural Light for Interior Photography
Natural light usually gives interiors a more balanced and inviting appearance.
Try to photograph during daylight and:
open curtains;
raise blinds;
avoid harsh direct sunlight when possible;
turn on interior lights only if they improve the scene.
Large windows can create a strong contrast between a darker interior and a bright exterior.
If the room is correctly exposed, the window may become too bright. If you expose for the exterior, the interior may become too dark.
This is where careful exposure, HDR techniques or post-processing can help.
4. Keep the Camera Level
One of the most common mistakes in real estate photography is tilted vertical lines.
Walls, doors and windows should generally appear upright.
To achieve this:
keep the camera level;
use a grid or electronic level;
avoid pointing the camera strongly upward or downward;
use a tripod whenever possible.
Straight verticals make interiors look more professional and natural.
5. Choose the Right Camera Height
A Starting Camera Height for Interior Photography
A good starting point is usually somewhere around chest height.
For many rooms, this creates a balanced perspective without showing too much floor or ceiling.
The ideal height depends on the space.
For example:
in a kitchen, you may need to raise the camera slightly to show the worktops;
in a bedroom, shooting too high can make the bed dominate the frame;
in a bathroom, a lower position may help keep the proportions natural.
Consistency matters more than following one exact measurement.
6. Real Estate Photography Equipment: Use a Wide-Angle Lens Carefully
Wide-angle lenses are useful in real estate photography because interior spaces often have limited room for the photographer to step back.
However, using an excessively wide lens can distort the property.
It may make:
furniture look stretched;
rooms appear larger than they really are;
walls seem unusually far apart;
nearby objects look oversized.
Use the least wide focal length that still allows you to show the room clearly.
The goal is to communicate the space, not exaggerate it.
7. Photograph from Corners and Doorways
Corners and doorways often provide useful perspectives.
They can help show:
the layout of the room;
windows;
connecting spaces;
key architectural features.
Avoid positioning the camera too close to a large piece of furniture because foreground objects may dominate the image.
A good photo should help viewers understand how the room is organised.
8. Take Several Angles of Important Rooms
Do not rely on a single image.
For important spaces such as the living room or kitchen, capture several useful views.
For example:
one wide overview;
one angle showing the main feature;
one view showing how the room connects to another area.
Each image should add new information.
Avoid publishing multiple photos that show almost the same composition.
9. Pay Attention to Windows
Bright windows are one of the hardest parts of interior photography.
To manage them:
avoid shooting directly into very strong sunlight;
use exposure bracketing if needed;
shoot in RAW when possible;
use HDR carefully;
correct highlights in post-production.
Try to preserve some exterior detail without making the window look artificially dark or pasted into the scene.
A balanced result usually looks more realistic.
For rooms with very bright windows, our guide to HDR real estate photography explains how exposures are balanced without an artificial look.
10. Photograph the Property’s Best Features
Not every image needs to be a wide room shot.
Add detail images when they highlight something meaningful, such as:
a fireplace;
parquet flooring;
a kitchen island;
custom storage;
a terrace;
a balcony;
a view;
a swimming pool;
architectural details.
These images should support the main room photos, not replace them.
11. Do Not Forget the Exterior
For houses and properties with outdoor spaces, exterior photography is an important part of the listing.
Photograph:
the facade;
entrance;
garden;
terrace;
balcony;
pool;
surrounding view.
Before shooting, remove distracting items where possible:
bins;
garden tools;
hoses;
vehicles;
unnecessary furniture.
Try to photograph the exterior when the light is flattering and the facade is clearly visible.
12. Use a Tripod
A tripod can improve both quality and consistency.
It helps you:
keep the camera level;
use slower shutter speeds;
reduce camera shake;
maintain a consistent height;
bracket exposures more accurately.
For interior photography, a tripod is often more useful than buying a significantly more expensive camera body.
13. Shoot in RAW When Possible
RAW files retain more image information than compressed JPEG files.
This provides more flexibility when correcting:
exposure;
shadows;
highlights;
white balance;
colour.
RAW is especially useful when photographing rooms with bright windows or difficult mixed lighting.
If you need a very fast workflow, JPEG can still work, but RAW provides greater editing flexibility.
14. Keep Colours Consistent
A complete property shoot should look like one coherent set.
Watch for different colour temperatures caused by:
daylight;
warm ceiling lights;
lamps;
LED lighting.
One room should not look blue while the next is strongly orange unless that reflects the actual conditions.
White balance correction during editing can help keep the entire listing consistent.
15. Edit Without Changing the Property
Editing is an important part of professional real estate photography.
Useful corrections include:
exposure;
white balance;
perspective;
highlights;
shadows;
sharpness;
colour consistency.
Avoid editing that changes the physical reality of the property.
Do not:
hide structural defects;
change room dimensions;
replace permanent features;
create a view that does not exist.
The final image should look polished but still believable.
16. Use AI to Speed Up Post-Production
A complete property shoot can contain dozens of images.
Manually correcting every photo can become time-consuming, especially for agencies managing several listings each week.
AI-assisted real estate photo editing can help automate repetitive adjustments such as:
brightness correction;
colour balancing;
perspective correction;
window recovery;
sharpness;
consistency across a complete shoot.
The main advantage is not simply speed. It is the ability to maintain a consistent visual standard across many listings.
Common Real Estate Photography Mistakes
Before publishing your images, check for:
tilted vertical lines;
dirty camera lenses;
overly dark rooms;
blown-out windows;
extreme wide-angle distortion;
clutter;
inconsistent colour;
reflections of the photographer;
blurry images;
excessive editing.
Correcting these basic issues can improve your property photos significantly.
Final Real Estate Photography Checklist
Before leaving the property, make sure you have photographed:
exterior;
entrance;
living room;
kitchen;
bedrooms;
bathrooms;
outdoor spaces;
views;
key features.
Also check that:
images are sharp;
verticals are straight;
rooms are properly exposed;
the property is tidy;
important spaces have more than one useful angle;
the full set looks visually consistent.
Conclusion
Learning how to take real estate photos is mainly about developing a repeatable process.
Prepare the property, use natural light, keep the camera level, choose realistic angles and avoid excessive wide-angle distortion.
Then use editing to correct exposure, colours and perspective without changing the reality of the property. Read also: How to take real estate photos with an iPhone.
With a consistent workflow, you can create professional real estate photos that are clear, attractive and ready to publish.
Related reading: how to photograph tenant-occupied properties while protecting privacy.
Next step: edit your property photos with AI, explore photo editing for real estate teams, or check what real estate photo editing costs.
Sharper listing photos, true to the property.
See pricing