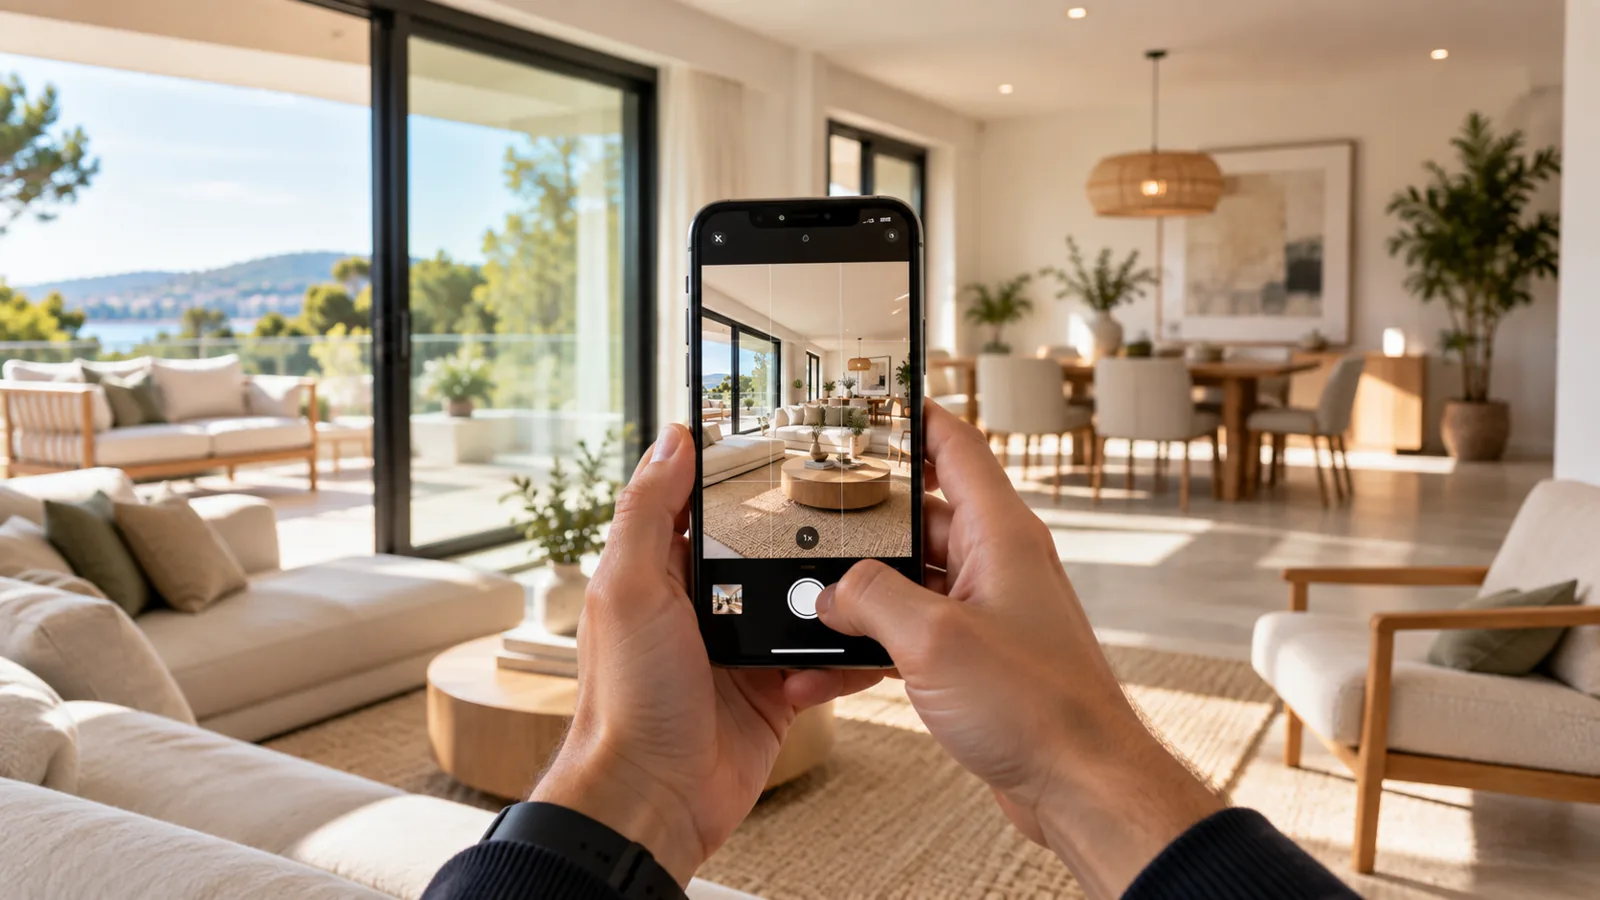
You do not need a professional camera to create good real estate listing photos. With the right technique, an iPhone can produce bright, clean and professional-looking images that are suitable for many property listings. Useful iPhone real estate photography settings include the camera grid and exposure controls. iPhone camera grid alignment helps with straight walls, while careful lens choice limits ultra-wide lens distortion.
The quality of the final result depends less on the phone itself than on how you prepare the room, control the light, frame the shot and edit the images afterwards.
This guide explains how to take real estate photos with an iPhone and how to avoid the most common mistakes.
Can You Use an iPhone for Real Estate Photography?
Yes. An iPhone can be a practical tool for estate agents, property managers and independent sellers who need to photograph listings quickly.
It works particularly well when:
the property has good natural light;
the rooms are prepared properly;
the camera is kept level;
the images are edited consistently;
the photos are mainly intended for online property listings.
For everyday listings, an iPhone can offer a good balance between speed, convenience and image quality.
However, it does not replace good photography technique. Poor framing, dark rooms or excessive wide-angle distortion can still make a property look less attractive than it really is.
1. Prepare the Property Before Taking Photos
The first step is not opening the Camera app. It is preparing the room.
Before shooting:
remove clutter;
hide bins and cleaning products;
straighten cushions;
make beds;
clear kitchen worktops;
open curtains and blinds;
remove visible cables;
turn on lamps when useful.
A clean room is easier to photograph and requires less retouching afterwards.
The goal is to help potential buyers understand the space without being distracted by unnecessary objects.
2. Clean the iPhone Camera Lens
Smartphone lenses collect fingerprints very easily.
A dirty lens can create:
blurry details;
reduced contrast;
glare around lights;
a hazy appearance.
Use a clean microfiber cloth before photographing each property.
It is a simple step, but it can make a noticeable difference.
3. Use the Main Camera First
Your iPhone may offer several lenses, but the main camera is often the best place to start.
Watch for iPhone Ultra-Wide Lens Distortion
The ultra-wide lens can be useful in small rooms, but it can also exaggerate perspective and make nearby objects look unnaturally large.
For most rooms:
start with the standard lens;
step back when possible;
use the ultra-wide lens only when necessary.
Avoid digital zoom because it can reduce image quality.
4. Use iPhone Camera Grid Alignment for Straight Verticals
The grid helps you keep the phone level and create balanced compositions.
In real estate photography, straight vertical lines are especially important.
Walls, doors and windows should not appear to lean inward or outward.
Try to keep the iPhone parallel to the floor rather than tilting it sharply up or down.
A good camera height is often around chest level. This creates a natural view of the room and helps reduce perspective distortion.
5. Use Natural Light
Natural light can make a property feel brighter and more welcoming.
Whenever possible:
photograph during daylight;
open curtains;
avoid harsh direct sunlight;
use interior lights only when they improve the scene.
One of the main challenges is balancing a darker interior with bright windows.
If you expose for the room, windows may become too bright. If you expose for the windows, the room may look too dark.
Modern iPhones manage dynamic range well, but difficult scenes may still benefit from careful image editing afterwards, for example with AI real estate photo editing.
6. Adjust iPhone Focus and Exposure for Listing Photos
Before taking the photo, tap on the part of the screen that should be in focus.
You can also adjust exposure by sliding your finger after tapping.
Avoid making the room look unnaturally bright.
The goal is to create an image that looks clean and inviting while still representing the real lighting conditions of the property.
7. Photograph from Corners and Doorways
The position of the camera has a big impact on how a room feels.
Good positions often include:
corners;
doorways;
the entrance to a room;
a point that shows both the main room and an adjoining space.
Try to show how the room is organised.
A useful property photo should help viewers understand the layout, not simply make the room look as large as possible.
8. Avoid Excessive Wide-Angle Distortion
Using the widest possible setting can make a small room appear dramatically larger.
This may look impressive at first, but it can also make furniture and walls appear distorted.
Be especially careful in:
bathrooms;
small bedrooms;
narrow kitchens;
hallways.
Use a wider lens only when it helps communicate the room more clearly.
Natural proportions usually create a more trustworthy listing.
9. Take More Than One Photo of Important Rooms
Do not rely on a single image.
For important rooms such as the living room, kitchen or main bedroom, take several angles.
For example:
one wide overview;
one angle showing the main feature;
one shot showing how the room connects to another space.
Review the photos before leaving the property.
It is much easier to take another image while you are still on site than to discover later that the only shot is blurry or poorly framed.
10. Keep the Style Consistent Across the Listing
A complete property listing should feel visually coherent.
Try to keep similar:
brightness;
colour temperature;
camera height;
framing;
contrast;
perspective.
This is particularly important for estate agencies where several people may photograph different properties using different iPhones.
Consistency makes the listing look more professional.
11. Edit the Photos Carefully
Even good iPhone photos often benefit from some post-processing.
A photo editor can help correct:
exposure;
white balance;
perspective;
shadows;
highlights;
sharpness;
colour consistency.
Avoid aggressive filters or excessive saturation.
Real estate photos should generally look better after editing, but they should still look realistic.
Heavy editing can make a property feel artificial or misleading.
12. Use AI to Speed Up Real Estate Image Editing
Editing a complete listing manually can take time, especially when a property has 20, 30 or more photos.
AI-powered image editing can help automate repetitive adjustments such as:
brightness correction;
colour balancing;
perspective correction;
window recovery;
sharpness;
consistency across a full property shoot.
This can be useful for estate agencies that photograph listings internally with iPhones and want a repeatable workflow.
Instead of editing every image individually in a traditional photo editor, an automated workflow can help process the whole set more consistently.
Common iPhone Real Estate Photography Mistakes
Before publishing your photos, check for these common problems:
dirty camera lens;
tilted vertical lines;
rooms photographed too dark;
overexposed windows;
excessive wide-angle distortion;
clutter in the frame;
inconsistent brightness between rooms;
too many similar photos;
unrealistic editing.
Avoiding these mistakes can improve the listing more than using advanced camera settings.
iPhone or Professional Camera?
An iPhone can work well for many everyday listings, but a professional camera still has advantages.
A professional photographer has more control over:
lenses;
lighting;
exposure;
flash;
dynamic range;
composition.
For premium properties, complex interiors or high-end marketing campaigns, professional photography may still be the better option.
For standard listings, however, an iPhone can be an efficient solution when combined with good technique and consistent editing.
Final Checklist
Before leaving the property, make sure you have:
cleaned the lens;
prepared every room;
opened curtains and blinds;
kept the phone level;
avoided unnecessary zoom;
photographed important rooms from several angles;
checked that photos are sharp;
avoided excessive distortion;
reviewed the full set for consistency.
Conclusion
Learning how to take real estate photos with an iPhone is mainly about mastering preparation, light, composition and consistency.
Keep the phone level, avoid extreme wide-angle shots, use natural light carefully and photograph each important room from several useful angles.
After the shoot, thoughtful editing can help correct lighting, colours and perspective while maintaining a natural result. Read also: Taking listing photos with a smartphone.
With a repeatable workflow, an iPhone can become a practical tool for producing real estate photos that are clear, consistent and ready to publish.
Going further? Learn how to take professional real estate photos.
Related reading: MLS photo size guide for Zillow and Realtor.com.
EstatePic handles this for you: enhance listing photos with AI without altering the home. Teams can share credits across the whole agency, and the pricing starts at €19 for 60 photos.
Sharper listing photos, true to the property.
See pricing