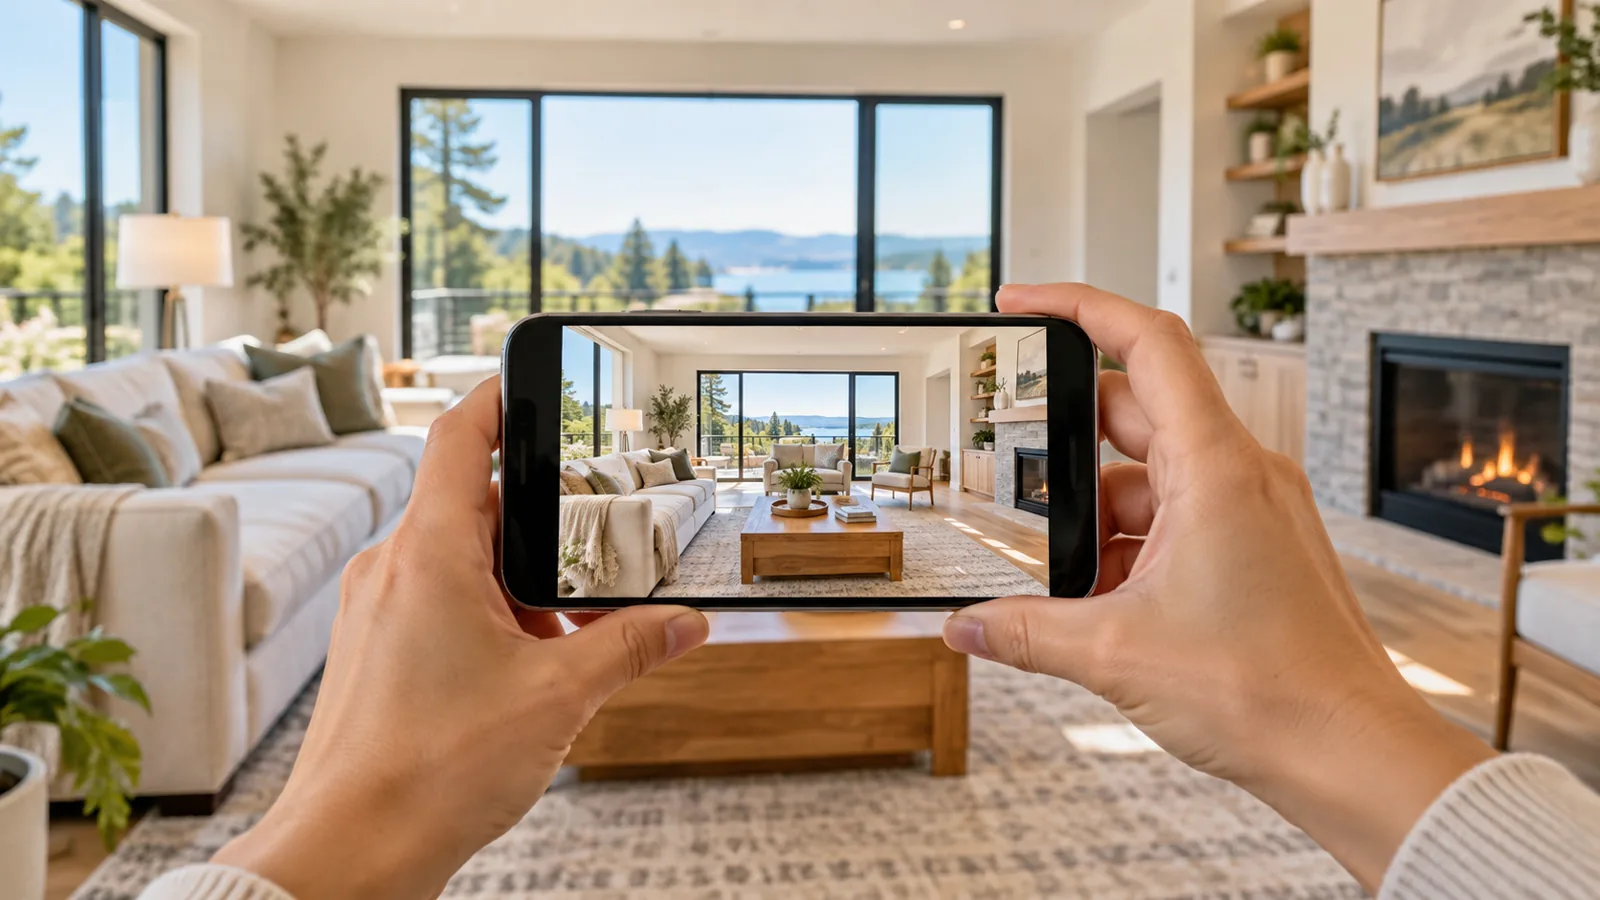
You do not always need a professional camera to create effective real estate listing photos. With the right technique, a modern smartphone can produce clean, bright and attractive images that are suitable for many property listings. Phone photography for realtors starts with lighting and camera position. Avoiding dark listing photos and limiting smartphone wide-lens distortion help viewers understand the space; editing cannot reliably recover details never captured.
The key is not simply having a good phone. Lighting, composition, camera position and consistency have a much bigger impact on how a property looks online.
This guide explains how to take better listing photos with a smartphone and avoid the most common mistakes.
Can You Take Real Estate Listing Photos with a Smartphone?
Yes. Smartphones are increasingly capable of producing sharp, well-exposed images, especially in good lighting conditions.
For estate agents, property managers and independent sellers, a smartphone can be useful when:
a listing needs to go online quickly;
professional photography is not available;
multiple properties need to be photographed regularly;
the property has good natural light;
photos will mainly be viewed on property portals and mobile devices.
However, a smartphone will not automatically produce professional-looking results. Poor lighting, tilted vertical lines, clutter and inconsistent framing can still make a property look less appealing than it is.
1. Clean and Prepare Every Room First
Good real estate photography starts before you open the camera app.
Remove anything that makes the room feel visually busy:
cables;
bins;
cleaning products;
personal items;
excess furniture;
coats and shoes;
objects on kitchen worktops.
Straighten cushions, make beds and open curtains or blinds.
The goal is not to make the home look unrealistic. It is to make the layout, light and available space easier to understand.
A well-prepared room will usually have a bigger impact on the final image than any camera setting.
2. Start with the Main Camera to Limit Wide-Lens Distortion
Most smartphones have several lenses, but the main camera usually delivers the best overall image quality.
Ultra-wide lenses can be useful in small rooms, but they can also create stronger distortion and make objects close to the camera appear unnaturally large.
Use the standard camera first. Switch to a wider lens only when you genuinely need more of the room in the frame.
Avoid digital zoom, as it can reduce image quality.
3. Keep the Phone Straight
One of the most common problems in smartphone real estate photography is tilted vertical lines.
Walls, doors, windows and cupboards should usually appear upright.
Hold your phone vertically level rather than pointing it sharply up or down. If your camera app includes a grid or level indicator, enable it.
A good starting position is around chest height. This often produces a more balanced view of the room than photographing from eye level.
Keeping the camera level also makes rooms look more natural and reduces the need for heavy perspective correction later.
4. Use Natural Light to Avoid Dark Listing Photos
Natural light is one of the easiest ways to improve property photos.
Whenever possible:
photograph during daylight;
open curtains and blinds;
avoid photographing directly into very strong sunlight;
turn on interior lights when they improve the atmosphere.
Balance Bright Windows with Darker Interiors
Be careful with windows. A bright exterior combined with a darker interior can create a large difference in exposure.
If you expose only for the room, windows may become completely white. If you expose for the windows, the interior may become too dark.
Modern smartphones often compensate for this automatically, but difficult scenes may still require AI real estate photo editing afterwards. Our guide to HDR real estate photography explains how bright windows and darker rooms are balanced.
5. Clean the Camera Lens
This sounds simple, but it makes a noticeable difference.
Smartphone lenses easily collect fingerprints, dust and grease. A dirty lens can cause:
soft images;
reduced contrast;
glare around lights;
hazy-looking windows.
Before photographing a property, wipe the lens gently with a clean microfiber cloth.
It takes a few seconds and can immediately improve image quality.
6. Photograph from the Corners of the Room
For many rooms, photographing from a corner or doorway gives the clearest sense of space.
Try to show:
the layout;
important windows;
doors connecting to other rooms;
key features such as fireplaces or built-in storage.
Avoid standing too close to furniture, as this can make objects dominate the foreground.
A useful listing photo should help buyers understand the property, not simply make the room look large.
7. Avoid Extreme Wide-Angle Shots
Wide-angle lenses are useful, but exaggerating the size of a room can make the listing feel misleading.
This is especially noticeable in:
small bedrooms;
bathrooms;
narrow kitchens;
hallways.
Use enough width to communicate the room clearly, but avoid creating proportions that do not reflect the real property.
Natural-looking images usually build more trust than dramatic distortion.
8. Take Several Photos of Each Room
Do not rely on a single shot.
Take multiple versions from slightly different positions and review them afterwards.
For an important room such as the living room or kitchen, you might take:
one wide overview;
one angle showing the main feature;
one alternative view showing how the room connects to the rest of the property.
This gives you more options when building the final listing.
It is usually faster to capture several strong images on location than to discover later that the only photo available is poorly framed.
9. Keep Your Photography Style Consistent
A listing looks more professional when the photos feel like part of the same set.
Try to keep a consistent:
camera height;
brightness;
colour balance;
framing style;
level of contrast.
Avoid having one room very dark and the next extremely bright.
Consistency becomes particularly important for agencies managing many listings, as it helps create a recognisable visual standard across the portfolio.
10. Do Not Overedit Smartphone Property Photos
Editing can improve a listing photo, but the objective should usually be to represent the property clearly and accurately.
Useful adjustments may include:
exposure correction;
white balance;
colour correction;
perspective correction;
reducing excessive shadows;
recovering bright windows;
improving overall clarity.
Avoid excessive saturation, unrealistic skies, extreme HDR effects or edits that change permanent characteristics of the property.
The final photo should look better, but still look believable.
11. Use AI Editing to Speed Up the Workflow
Taking the photos is only part of the process. A complete property shoot can include dozens of images that require similar adjustments.
AI-assisted real estate photo editing can help automate repetitive corrections such as:
brightness;
colours;
perspective;
sharpness;
window exposure;
visual consistency across a full set.
For estate agencies, this can be particularly useful when multiple agents take listing photos on different smartphones.
Instead of manually editing every image, the objective is to create a consistent result across the entire property.
Common Smartphone Real Estate Photography Mistakes
Before uploading your photos, check for these common problems:
the lens is dirty;
the phone is tilted;
vertical lines are leaning;
the room is cluttered;
images are too dark;
windows are completely overexposed;
the ultra-wide lens makes the room look distorted;
colours look unnatural;
different rooms have very different editing styles;
too many photos show almost the same angle.
Correcting these issues can make a bigger difference than upgrading to a more expensive smartphone.
Smartphone vs Professional Camera for Real Estate Photography
A professional camera still offers important advantages, particularly in difficult lighting conditions and high-end property photography.
Professional equipment can provide greater control over:
lenses;
exposure;
dynamic range;
flash photography;
image quality.
But for many everyday property listings, a smartphone can be a practical and efficient option when used correctly.
The best choice depends on the property, the listing value, the available budget and the level of visual quality required.
Final Checklist for Taking Listing Photos with a Smartphone
Before leaving the property, check that you have:
cleaned and prepared every room;
photographed in good natural light;
kept the phone level;
avoided unnecessary digital zoom;
captured multiple angles of important rooms;
checked that the images are sharp;
avoided excessive wide-angle distortion;
photographed all key selling points;
reviewed the full set for consistency.
Conclusion
Taking listing photos with a smartphone can be fast, practical and effective.
The most important factors are not advanced camera settings, but preparation, lighting, composition and consistency. Keep the phone level, photograph from useful angles, avoid excessive distortion and make sure every image represents the property naturally.
Once the photos are captured, careful editing can help correct lighting, colours and perspective while creating a more consistent set of images for the final listing. Read also: How to take real estate photos with an iPhone.
With a repeatable workflow, a smartphone can become a reliable tool for producing property photos that are clear, professional and ready to publish.
Ready to upgrade? See our guide to the best lens and camera for real estate photography.
EstatePic handles this for you: enhance listing photos with AI without altering the home. Teams can share credits across the whole agency, and the pricing starts at €19 for 60 photos.
Sharper listing photos, true to the property.
See pricing