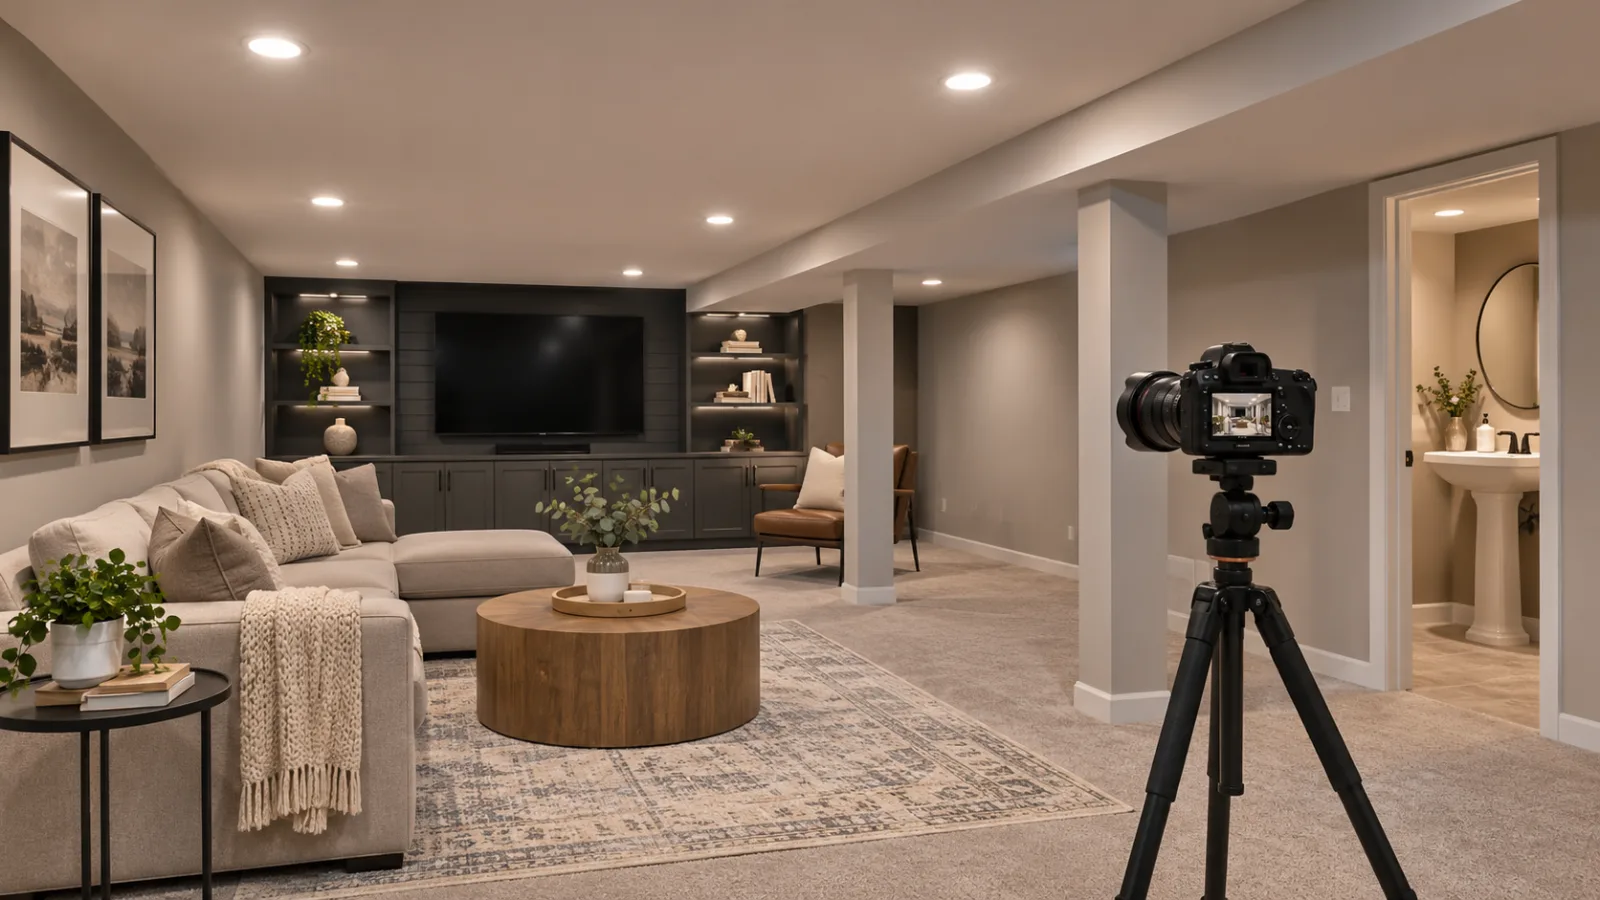
Basement and Windowless Room Photography: How to Capture Dark Spaces for Listings
Basement real estate photography requires controlling artificial lighting, camera exposure, and perspective to make dark spaces accurately visible. Standard automatic settings can produce noisy shadows, yellow walls, and distorted proportions, making a finished basement appear less inviting than it actually is. A tripod, calibrated white balance, and careful editing can solve these problems.
Poor photography can undermine the presentation of valuable finished living space on MLS, Zillow, and other listing platforms.
However, there is no verified evidence that standard camera settings reduce a basement's perceived value by exactly 30%. The practical concern is visual clarity: buyers need to understand a room's dimensions, lighting, condition, and potential uses.
Here's how to photograph basements, windowless bathrooms, and home theaters professionally without making dark spaces look artificially bright or misleading.
The Finished Basement Paradox: Valuable Square Footage That Cameras Fail to Capture
A finished basement might contain a family room, home office, entertainment space, or guest accommodation.
Yet photographs often make these rooms appear smaller, darker, and less comfortable than they feel in person.
The problem is not necessarily the property. It's how cameras record limited light.
Why dark rooms challenge camera sensors
Unlike the human visual system, a camera captures a particular exposure during each photograph.
In a basement with minimal natural light, automatic exposure settings may increase ISO sensitivity, slow the shutter, or open the lens aperture.
Each adjustment involves a trade-off.
Higher ISO settings can increase visible noise. Slow shutter speeds can introduce blur when shooting handheld. Wide apertures can reduce depth of field.
Artificial lighting creates additional challenges, especially when ceiling fixtures leave corners noticeably darker than the center of the room.
These problems become more obvious when photographing dark rooms for real estate listings, where buyers expect sharp architectural details.
Start with stable camera settings
For stationary interiors, a tripod allows you to prioritize image quality over shutter speed.
Use the following settings as a starting point:
ISO: 100–400, depending on your camera and exposure.
Aperture: f/5.6–f/8 for useful depth of field.
Shutter speed: Adjust to available light; exposures of one second or longer may be necessary.
File format: RAW for greater editing flexibility.
White balance: Fixed Kelvin setting or custom white balance.
Self-timer: Two seconds to minimize camera movement.
These are starting values, not universal requirements.
Check sharpness across the image and adjust according to your equipment.
What about smartphone photography?
Modern smartphones can produce usable basement photographs, especially when supported by a tripod.
Use the main camera whenever practical because ultra-wide modules often have smaller sensors and may produce more noise in low light.
Activate Night mode if available, but keep the phone stable throughout the exposure.
Avoid aggressively brightening the image during capture. A naturally dim room should not resemble a sunlit living room.
Managing the Color Temperature Nightmare: Fighting Yellow and Orange Casts
One of the most common basement photography problems is inconsistent lighting.
A finished basement may contain warm recessed ceiling lights, cooler LED strips, and decorative lamps with different color temperatures.
The camera must interpret these competing light sources.
The result can be orange walls, greenish ceilings, or furniture that appears to change color across the photograph.
Understanding Kelvin ratings
Light color temperature is measured in Kelvin (K).
Lower values generally produce warmer, more yellow light. Higher values produce cooler, more blue-toned light.
For real estate photographers, the goal is not automatically to make every space look daylight-white.
It's to represent the actual surfaces and atmosphere accurately.
Bulb Color Temperatures (Kelvin) and Their Visual Impact on Listing Photos
Bulb color temperature | Common fixtures | Typical visual impact | Initial camera white balance |
|---|---|---|---|
2700K | Warm residential LEDs, traditional incandescent-style lamps | Warm yellow-orange appearance | Around 2700K |
3000K | Recessed ceiling lights, contemporary residential fixtures | Soft warm-white illumination | Around 3000K |
3500K | Neutral-warm LED lighting | Less yellow, more neutral appearance | Around 3500K |
4000K | Utility rooms, some bathrooms and workspaces | Neutral to cool-white appearance | Around 4000K |
5000K | Daylight-style LEDs and task lighting | Cooler appearance resembling daylight | Around 5000K |
Camera settings are starting points for neutralizing a dominant light source, not recommended replacement bulb temperatures. Actual results depend on lamp characteristics, surrounding colors, and camera processing.
How to fix yellow interior lights in real estate photography
First, identify the dominant light source.
If most fixtures are approximately 3000K, start by setting your camera's white balance near that value.
Next, photograph a neutral gray card under the same lighting.
This provides a reference for correcting unwanted color casts during editing.
Adobe's white balance photography guide explains why RAW capture, consistent lighting, and reference cards help achieve accurate colors.
Avoid relying entirely on Auto White Balance when capturing multiple angles of the same room.
Automatic adjustments may produce inconsistent color between photographs.
Correcting mixed lighting on smartphones
Some smartphones provide manual white balance through Pro or manual camera modes.
Where available, lock white balance to the dominant light source.
If your device does not support manual Kelvin adjustments, capture the image in RAW or ProRAW when supported and refine temperature and tint afterward.
For mixed lighting, global adjustments may not be enough.
Professional Photographers of America describes using localized color adjustments to correct areas affected by different light sources in its mixed-light editing guide.
Whenever possible, reduce the problem during the shoot by avoiding unnecessary combinations of warm and cool lamps.
Framing and Composition in Low-Ceiling Spaces
Lighting is only half the challenge.
Basements often have lower ceilings, exposed structural beams, narrow layouts, and limited camera positions.
Poor composition can exaggerate these constraints.
Good architectural photography makes the space understandable without suggesting dimensions that do not exist.
1. Tripod Elevation: Why Shooting at Eye Level Ruins Basement Photos
Standing eye level is not always appropriate for architectural photography.
In a basement with a seven-foot ceiling, approximately 2.13 meters, placing the camera at 1.70 meters can produce a composition dominated by furniture and floor-level objects.
It may also tempt the photographer to tilt the camera downward to include more of the room.
A better starting position is approximately 1.10–1.30 meters above the floor.
At this height, a level camera often provides a more balanced view of the ceiling and floor.
For a basement family room, begin around 1.20 meters and adjust based on furniture height and composition.
Maintain the camera's sensor plane vertically aligned.
This helps keep doorframes and wall corners straight.
2. Managing Ultra-Wide Angle Lenses Without Warping Low Ceilings
Wide-angle lenses help photographers work in confined spaces.
But extremely wide compositions can stretch furniture near the edges and exaggerate room depth.
For full-frame cameras, a focal length around 18–24mm is a useful starting range, depending on available space.
For APS-C cameras, select a lens offering a similar full-frame-equivalent field of view.
Avoid automatically choosing the widest available setting.
Instead:
Photograph from a doorway or corner when practical.
Keep the camera level.
Position important furniture away from extreme frame edges.
Include enough ceiling to communicate actual height.
Avoid excessive perspective correction afterward.
As Canon's architectural photography guide explains, tilting a camera can produce converging architectural lines. Leveling the camera helps control that effect.
Remember that viewpoint influences perspective. A lens cannot compensate for every distortion created by standing extremely close to foreground objects.
3. Shooting Windowless En-Suite Bathrooms and Powder Rooms
Windowless bathroom listing photos require particular care.
Small rooms contain reflective surfaces, mirrors, glossy tiles, and artificial lighting.
A direct flash can create harsh reflections. An ultra-wide lens can stretch the sink or make fixtures appear disproportionate.
Begin by cleaning mirrors and reflective surfaces.
Then photograph from the doorway using a level camera.
Try to show the sink, toilet, and shower arrangement without forcing every fixture into a single distorted frame.
For particularly tight bathrooms, use two accurate compositions rather than one exaggerated ultra-wide photograph.
If the mirror reflects your camera or tripod, change position before resorting to digital removal.
For accurate color, photograph a neutral reference surface under the room's actual lighting.
Keep the absence of windows clear. Never introduce artificial daylight suggesting an opening that does not exist.
Digital Lighting Enhancement: Natural Lift vs. Artificial Flash Halos
Even carefully exposed photographs may require editing.
The goal is to recover information already captured by the sensor and make the final image resemble a reasonable human view of the room.
Why direct on-camera flash often disappoints
A flash mounted directly on the camera can brighten nearby objects while leaving distant corners comparatively dark.
It may also create strong reflections, unnatural highlights, and shadows behind furniture.
This is particularly noticeable in small basement bathrooms and rooms with low ceilings.
A better option is to use the available lighting with a tripod.
Experienced photographers may also use bounced flash, directing light toward a suitable neutral ceiling or wall.
However, colored walls can introduce unwanted color casts, and low ceilings may complicate light distribution.
Test the result before shooting the entire room.
Use exposure bracketing when necessary
Exposure bracketing involves photographing the same composition at different exposure levels.
For example, capture three frames at -2, 0, and +2 EV.
A tripod keeps the compositions aligned, allowing compatible editing software to combine useful tonal information.
Bracketing does not create additional physical light, and blending cannot recover details that were never recorded.
It can, however, help preserve bright fixtures while retaining visible shadow detail.
How AI exposure correction improves basement photographs
AI-assisted editing can accelerate common adjustments such as shadow recovery, noise reduction, and color correction.
For professional listing workflows, this is particularly useful when processing multiple photographs under similar lighting.
An AI photo enhancement software solution to balance exposure and color temperature can help streamline these repetitive corrections.
However, automatic enhancement requires visual review.
Brightening deep shadows excessively may reveal noise or create a flat appearance.
Aggressive noise reduction can remove fine texture from carpets, masonry, or walls.
AI-generated reconstruction may also introduce details that were not present.
EstatePic's True-to-Property standard
EstatePic's True-to-Property policy distinguishes technical improvements from modifications that misrepresent a property.
Appropriate corrections include:
Reducing sensor noise.
Balancing mixed-light color casts.
Improving shadow visibility.
Correcting vertical lines.
Recovering captured detail without inventing information.
Unacceptable modifications include adding nonexistent windows, digitally increasing ceiling heights, concealing water damage, or removing permanent structural features.
The guiding principle is:
Designed to support truthful and accurate property presentation.
This approach supports responsible marketing but does not guarantee compliance with every local advertising law or listing-platform policy.
Pre-Shoot Lighting Checklist for Real Estate Agents
The easiest way to improve lighting basement photos is to prepare the space before opening the camera app.
Use this checklist for finished basements, basement apartments, home theaters, and windowless bathrooms.
Lighting preparation
Replace burned-out bulbs with permission from the responsible owner or manager.
Match bulb color temperatures where practical.
Check for flickering or malfunctioning fixtures.
Turn off competing television and computer screens.
Position temporary floor lamps to soften uneven lighting.
Avoid placing auxiliary lamps where they suggest permanent fixtures.
Confirm that the room's actual lighting remains accurately represented.
Camera preparation
Clean the camera lens.
Set up a stable tripod.
Start at a low ISO setting.
Select an aperture suitable for room-wide sharpness.
Lock or calibrate white balance.
Capture RAW files when supported.
Check vertical lines before shooting.
Review exposure and sharpness at full resolution.
Final image review
Before uploading to MLS or Zillow, compare the edited photograph with the actual space or an accurate original reference.
Ask whether buyers can understand the room's true dimensions, lighting conditions, fixtures, and visible condition.
An image that looks impressive but communicates inaccurate property characteristics is not a successful listing photograph.
Frequently Asked Questions About Photographing Dark Listing Rooms
Should I keep all lights turned on when photographing a dark basement?
Not necessarily. Turn on fixtures that provide useful, consistent illumination, but switch off lights creating severe color conflicts, glare, or distracting reflections. Test a few combinations before shooting. The goal is balanced exposure and accurate color, not maximum brightness from every available bulb.
Is it acceptable to use AI to brighten a windowless room if it is naturally dim?
Yes, AI-assisted brightness correction can be appropriate when it compensates for camera limitations without misrepresenting the room. Keep the original lighting character recognizable, preserve existing fixtures and defects, and never introduce nonexistent windows or daylight. Review the final image against the actual property before publication.
How high should the tripod be placed in a basement with seven-foot ceilings?
Start around 1.10–1.30 meters, approximately 43–51 inches, above the floor. A height near 1.20 meters often balances floor and ceiling visibility. Adjust according to furniture and framing, but keep the camera level to avoid converging vertical lines and exaggerated ceiling proportions.
Conclusion: Make Dark Spaces Readable, Not Artificially Bright
Successful basement real estate photography depends on controlling three elements: exposure, color temperature, and perspective.
A stable tripod helps preserve detail without excessive ISO noise. Consistent lighting and calibrated white balance prevent distracting yellow or green casts. Careful camera positioning communicates room dimensions without stretching walls or distorting ceiling height.
AI-assisted editing can make the finishing process more efficient, particularly when correcting shadows and mixed lighting across multiple photographs.
But every adjustment should preserve the property's actual characteristics.
The objective is not to make a windowless basement look like a sunroom. It's to photograph the space clearly enough that buyers understand what they're considering.
That combination of technical accuracy and truthful presentation is what makes dark interior photography effective.
Related guides
Want to apply these tips in minutes? Try AI real estate photo editing that keeps the property true to life, see how agencies share one photo workspace, or compare photo editing plans and prices.
Sharper listing photos, true to the property.
See pricing