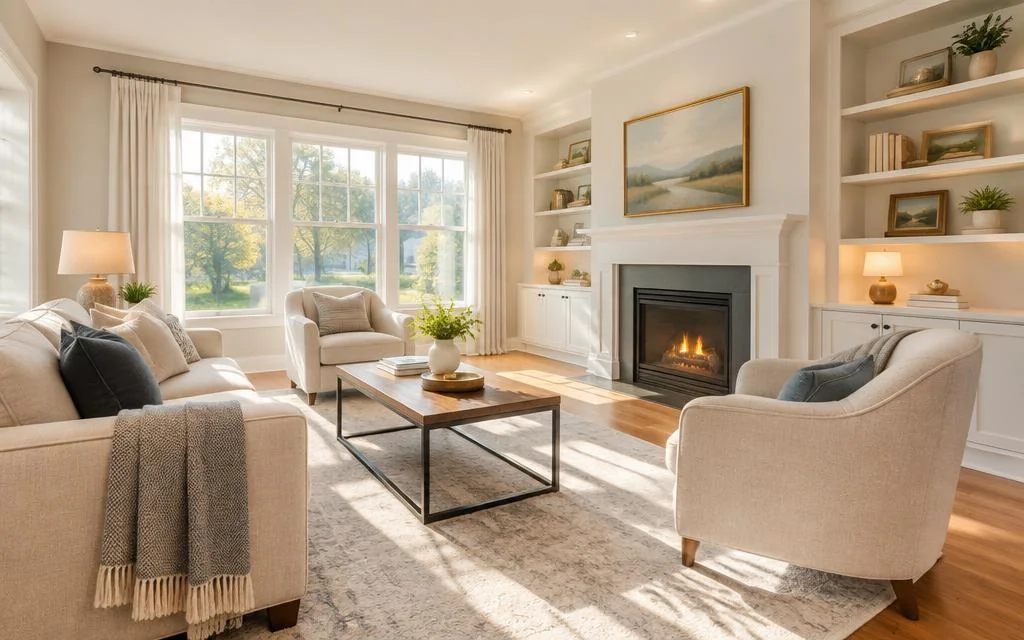
Why brightness matters in a listing
On a property portal, buyers scroll through dozens of thumbnails in a few seconds. Dark, grey or yellowish photos make rooms look smaller and less welcoming, even when the property itself is bright. The good news is that most brightness problems come from a handful of habits at the moment of shooting, and they cost nothing to fix. Here are five simple habits, followed by a short checklist you can use on every visit.
1. Shoot when the light is soft
Mid-morning or mid-afternoon light fills rooms without harsh contrast. Avoid shooting straight into the sun through a window: the window burns to white and the room turns dark. Check the orientation of the main rooms before the appointment. A south-facing living room is often easier in the morning, a west-facing one later in the day. On a grey day, soft, even light is actually an advantage indoors, as long as you add the interior lights.
2. Open everything, then turn on every light
Open curtains and blinds fully, then switch on ceiling lights, lamps and under-cabinet lights. Together they remove dark corners and give depth to the room. Mixed bulbs can create colour casts, orange in one corner and blue near the window; these are easy to correct afterwards with white balance. Replace a dead bulb if you can: a dark lamp in the frame looks like a defect.
3. Hold the phone level
Shoot at chest height and keep verticals straight. Tilting the phone up or down makes walls lean and rooms feel unstable. Turn on the grid in your camera settings and align door frames with it. Small tilts are fixed by perspective correction, but large ones cost framing because the image has to be cropped. Shoot from a corner or a doorway to show as much of the room as possible without distorting it.
4. Tidy before you shoot
Put away personal items, cables, bins, dish racks and laundry. Clear surfaces reflect light and make a room read as larger. Leave a few neutral objects, such as a bowl of fruit or a plant, so the space does not feel empty. Decluttering in real estate photo editing is possible when a visit cannot be rescheduled, but it is shown as a simulated change and the original photo stays available.
5. Enhance, don't transform
Real estate photo editing should correct light, colour and lines — never the property. Raise exposure, recover the view through the window, neutralise colour casts and straighten verticals. Do not change wall colours, floors, the view or the size of a room. Buyers who find what they saw online are buyers who make offers, and a disappointed visit costs the agency time and credibility.
A quick checklist for every visit
Before shooting: check the time and orientation, open all curtains, switch on every light, tidy surfaces. While shooting: phone at chest height, grid on, verticals aligned, one or two angles per room. After shooting: select the clearest photos, correct exposure and white balance, straighten lines, and label any simulated change. Following the same routine on every listing gives a consistent look across the agency's portfolio.
Next step: edit your property photos with AI, explore photo editing for real estate teams, or check what real estate photo editing costs.
Go further